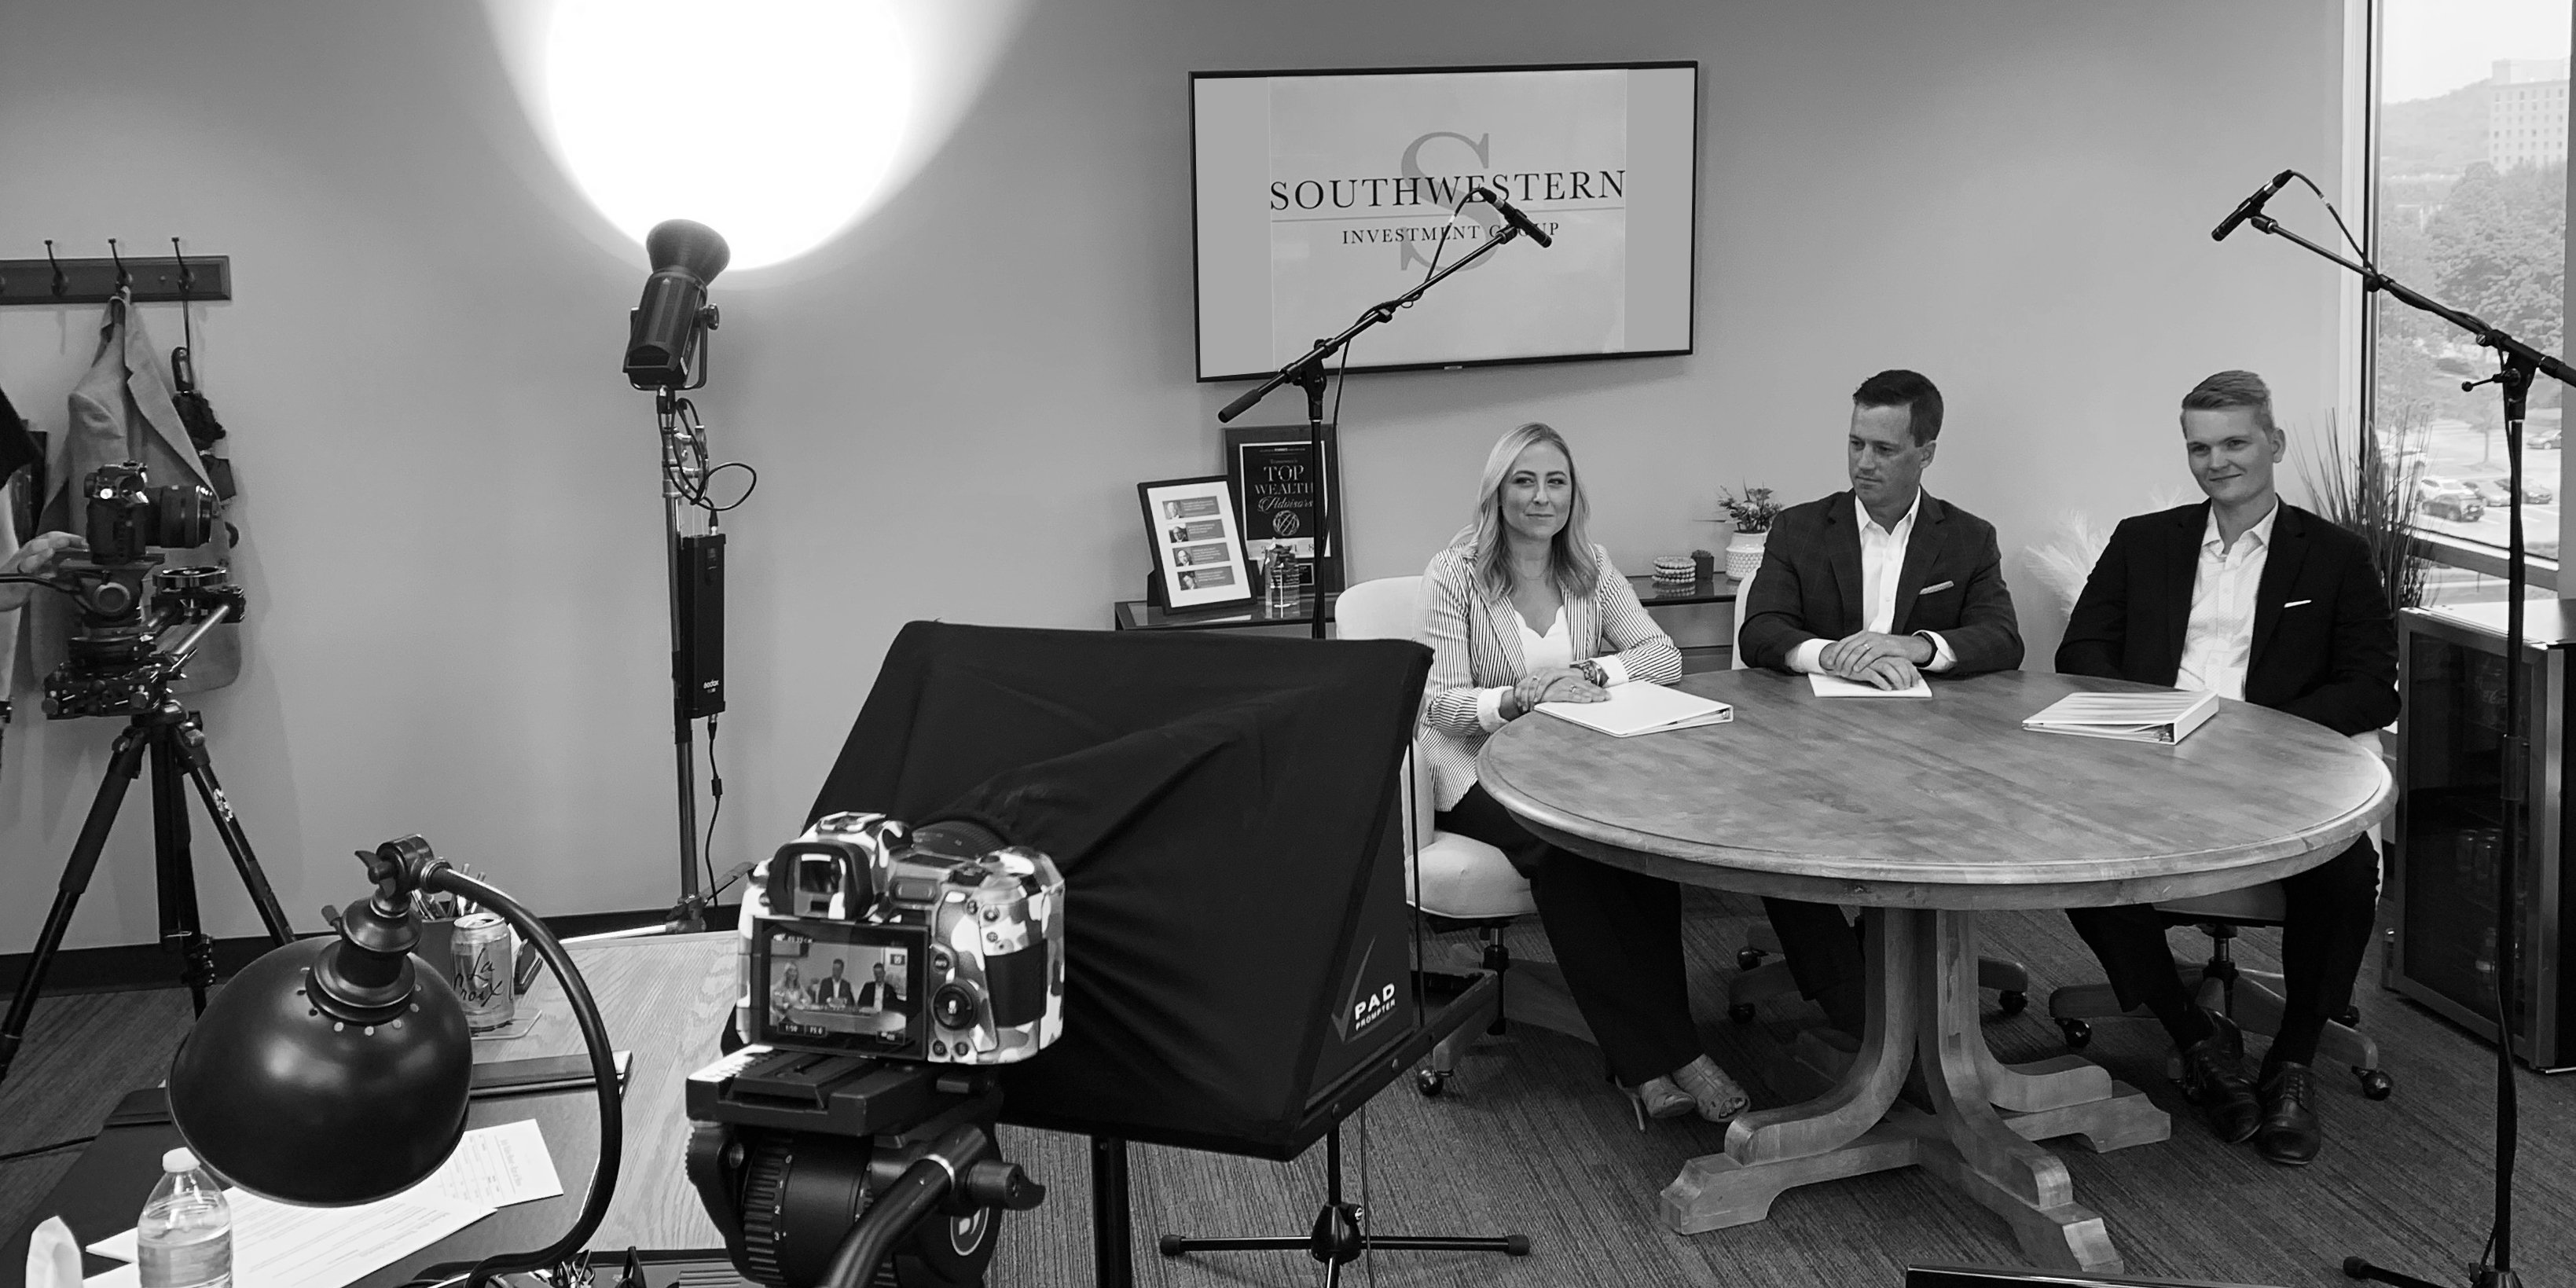
Hey y’all! Thanks for being checking out the new blog posts. We’ve had a few folks reach out and ask for some more grounded production centric tips so here’s one for you. After reading this if you’ve got questions or want more information, Nick and I are just an email away! Ok, so here we go.
Shooting multiple cameras typically evokes one of two emotions:
Wow, that’s super pro. That must be complicated. OR I always run two cameras anytime I film anything.
Regardless of your level this is a super easy way to get some nice cuttable footage for your production, but there are a few simple steps to get you started. We even run a checklist on our professional sets, all these things are easy to check, hard to fix later.
-
Memory cards match:
Seems like a simple enough thing but nothing will ruin your take faster than "Camera A running out of memory on that amazing line delivery
-
Backup batteries X2:
Again, a simple step you can do in the planning phase but why go into a shoot with less than 2 batteries a camera? Unless you’re plugging them into a wall outlet, more than one battery per camera. -
Do your frames per second match?
Here’s one simple but NOT so simple thing. If you shoot one camera at 24fps and another an 29.97fps - guess what, 80% of the time you’re PROBABLY going to be ok. (Other than the fact that it’s wrong and it hurts my heart, you should be fine.) BUT there are some serious things that can happen in post if you do this. Ok? Check it before you film and get it set together. This is obviously a deep internet rabbit hole and if you want to read more about this Frank Schrater has a pretty decent article with videos about it and it’s a good place to start. -
Matching F-Stops, t-stop, or whatever you call your aperture.
Does it match? If not, why not? Is it a look. That “B” camera needs to be all shallow to avoid shooting into some wall art that’s super wierd? Make sure it matches. If not have a reason it doesn’t match.
-
DSLR Shutter Speed….
Ok y’all, I have to admit that I was well into my career before a very smart broadcast engineer explained to me the difference between Shutter Speed on a DSLR and Shutter Angle on a production camera. Eye opening. I won’t get into the nerdy details here but just use this as a guide. Double your FPS. So, 24fps (or 23.97) go to 50. 30fps (or 29.97) go to 60. 60fps (or 59.97) go to 120. And so on and so forth.
-
ISO matters.
Unlike shutter speed and aperture, ISO doesn't change the amount of light coming into the camera, right? It brightens and darkens in the image based on the sensitivity of the sensor. SO, in many production cameras you’ll see an approved or native ISO - our C70 is 800, the last time we shot those little black magic pocket cameras it was 400. My partner Nick has done a decent amount of research in this area. Here’s the layman terms - the closer to the native ISO you are, the more dynamic range the sensor will have. Got it? So 100iso on our C70 is actually LOSING dynamic range at that point, vs keeping it at it’s native range. In this context, if you need more or less light, for a different shot, match your cameras and break out an ND filter or two, they’re a cheap addition to your kit and they’ll save your butt in situations like this. -
Roll and cut together.
Yup, again, stupid simple thing - turn the record button on at the same time and cut the take at the same time. It’s simple and it will help you in post. If you want to get to the next level with your sync game there are programs like PluralEyes that let you sync your whole shoot at once and tools called Tentacles that will help bring all your timecodes inline. They’re worth the research if you’re making lots of content. In the meantime you can use the sync feature in premiere pro to sync to make sure you’re dialed in. -
Make sure the sound capture is on.
Even if you’re not using the mic on camera, keep the sound on, it doesn’t take up that much space and this way you can sync the clips using audio in premiere or pluraleyes or whatever software you’re planning on using. -
Dump cards on set but keep them separated.
Again - I thought this was a no brainer but we’ve gotten a few questions about this. I don’t care what you call your cameras but each one needs a “Camera A” Card 1, Card 2, Card 3 etc.on set. It will help you keep track of the cards and what files and that you’ve copied all the footage BEFORE YOU LEAVE SET. -
Don’t immediately format your cards!
Heaven forbid you lose a hard drive or drop your laptop or something didn’t copy correctly. As soon as you can, lots of times, I’ll do it on set, fire up the old computer and make sure everything is there and works. If not, you've still got data on your cards still. The core idea is to alway have 2 copies of everything.
Bonus pro-tip: Make sure the video is actually recording when you hit record. I know, I know, stop wasting your time. We just lost a take from a pretty big corporate client, because our operator was doing 15 things, hit record and it never started. And he’s been doing this for 3 years, not his first rodeo. People just get distracted sometimes and these little machines are super cool tech, but there’s more going on in that tiny box than most of us can even comprehend. So, do yourself and your team a favor, make sure that little red light is on, be super pro and call “camera speed,” then say, “action!”
Thanks for following along, we hope you enjoyed it and it helps you with your next project! Go follow us on Instagram! We’re posting up just about everyday. Also, Kris + Nick’s linkedin if that’s more your speed.
Like what you’re seeing? We do a bi-monthly thing with tips and tricks, downloadable checklists, guides for strategy and all of the things that have helped up along the way. Sound cool? Sign up here.